Hello everybody, I hope you’re having an incredible day today. Today, we’re going to prepare a special dish, my version of indonesian nasi goreng. One of my favorites. For mine, I am going to make it a bit unique. This will be really delicious.
This version of nasi goreng is my absolute favorite. The galangal and white pepper give it a good amount of heat, which is balanced by the sweetness of the kecap manis and the saltiness of the soy. My version of Indonesian Nasi Goreng directions.
My version of Indonesian Nasi Goreng is one of the most popular of current trending meals on earth. It is enjoyed by millions daily. It is easy, it’s fast, it tastes yummy. My version of Indonesian Nasi Goreng is something which I have loved my whole life. They’re nice and they look fantastic.
To get started with this particular recipe, we have to prepare a few components. You can have my version of indonesian nasi goreng using 12 ingredients and 6 steps. Here is how you cook it.
The ingredients needed to make My version of Indonesian Nasi Goreng:
- Take 3 cups rice (cooked 1 day ahead) - I use Jasmine Thai rice. Basmati is fine
- Take 3 tbsp sambal paste (see note)
- Make ready 4 spring onions sliced
- Take 3 cherries tomato sliced
- Make ready 2,5 tbsp Kecap manis - add when needed
- Get 1 tbsp soya sauce
- Prepare 2 tbsp butter
- Get 1 tsp white pepper
- Take 1 tsp Knorr chicken powder
- Get 1 tsp sesame oil (optional)
- Prepare 2 eggs
- Prepare 2 candlenuts grind smoothly (subtitute with cashew) - optional
It was a nicely satisfying plate of nasi goreng, and it wouldn't have been the same without the addition of the stink beans. Nasi goreng (which translates to fried rice in Indonesian and Malay) is one of my all time favourites, a real comfort dish of fried rice with a mix of meat, vegetables and seasonings. This chicken nasi goreng recipe from Lara Lee's Indonesian cookbook, Coconut & Sambal, combines rice, chicken and green beans with aromatic garlic, galangal or ginger, shallots, plus turmeric, soy sauce, kecap. While nasi goreng is available in Indonesia, Malaysia and Singapore, the Indonesian version is my favorite.
Steps to make My version of Indonesian Nasi Goreng:
- Sambal paste recipe is in my cookpad, but this can be replace with: 4 garlic and 3 shalllots, 3 chilly. Mince them all till smooth. If you used candlenut, this need to be grill for about a minute of two before grinding.
- Heat the wok in high heat, add 1 tbsp of butter and cracked the eggs, make a scramble eggs, Put asied the eggs. Now, add the rest of the butter, put the sambal (or mince shallot, garlic and chillies) and candlenuts.
- If you dont use sambal, make sure to stir fry this for at least 10 minutes, till its mix and cooked, we need to keep stirring as it is in high heat, Then put the cold rice mixed well. Put the kecap manis, soya sauce, knorr, salt and white pepper, still in very high heat, keep stirring.
- When its all mixed, taste it. The consistency of the rice should be bit dry with a bit of smokey smells.
- When you are sure all good, Add spring onion and tomatoes, mix and done. Enjoy!
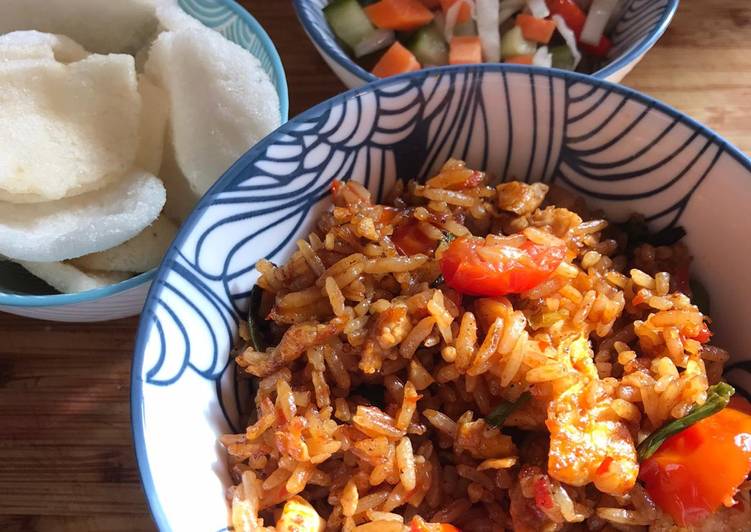
- Note: if I dont used pickle, I would mix a bit thinly sliced cabbage in my nasi goreng, and slice some cucumber when serving.
Topped with a fried egg (a distinctive note of Indonesian's version), nasi goreng is a meal that is both hearty and gratifying. Making nasi goreng also reminded me of my fond memories while traveling in Indonesia—a country with. Nasi goreng, Indonesia's version of fried rice, gets a sweet-savory profile from kecap manis and a big hit of umami from shrimp paste. My version of the Dutch nasi goreng. Hmmm it smells good & it reminds me of home.
So that is going to wrap this up with this exceptional food my version of indonesian nasi goreng recipe. Thanks so much for reading. I am sure that you can make this at home. There’s gonna be interesting food at home recipes coming up. Don’t forget to save this page in your browser, and share it to your family, friends and colleague. Thanks again for reading. Go on get cooking!